
In this tutorial on “How To Use Docusign For Beginners,” we will walk you through the entire process of creating, sending, tracking, and signing documents using Docusign. Whether you are new to Docusign or looking to brush up on your skills, this guide will provide you with all the necessary steps and tips to get started.
Understand Docusign Terminology
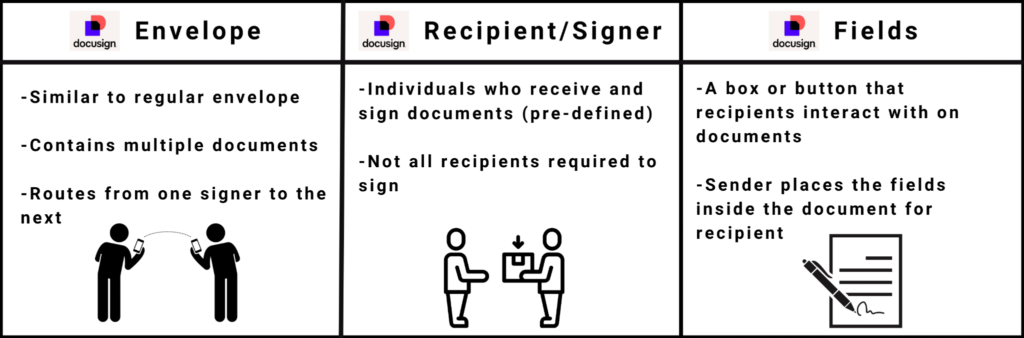
Before diving into the steps, it’s crucial to understand some basic terminology used in Docusign:
- Envelopes: These work similarly to traditional paper envelopes but are virtual. They can contain multiple documents and route them from one signer to the next. Envelopes help in organizing and sending documents to multiple recipients efficiently.
- Recipients/Signers: These are the individuals who receive and sign the documents. Not all recipients are required to sign; some may only receive a copy. It is essential to define who needs to sign and who only needs to view the documents.
- Fields: These indicate where recipients need to sign on the documents. The sender configures these fields. Fields can also include text boxes, checkboxes, and radio buttons to capture additional information from the signers.
Understanding these terms will help you navigate through Docusign more effectively and make the process smoother.
Step 1: Create an Envelope
Upload Documents
To start, you need to create an envelope and upload the documents you want to send. Follow these steps:
1. Log into your Docusign account. If you don’t have an account, you can sign up for a free trial on the Docusign website.
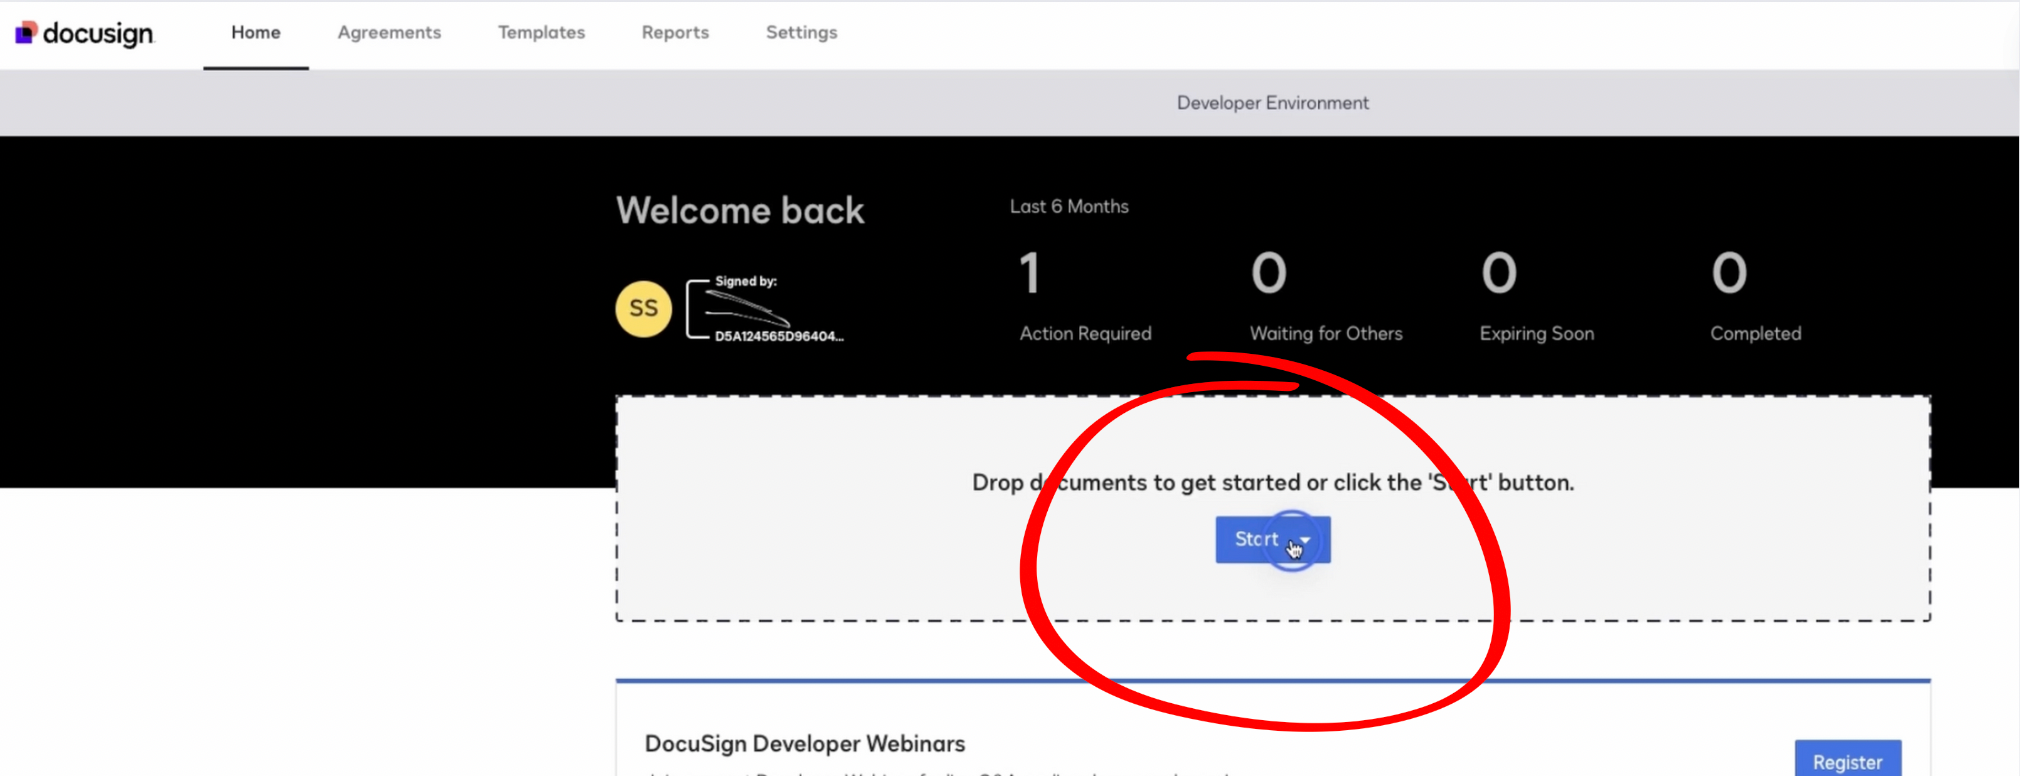
2. After you’re logged in, click on “Start” and then “Send an Envelope.” This option will open a new window where you can begin the process of creating your envelope.
3. Upload the documents from your computer or cloud storage like Google Drive. Docusign supports various file formats, including PDF, Word, and Excel.
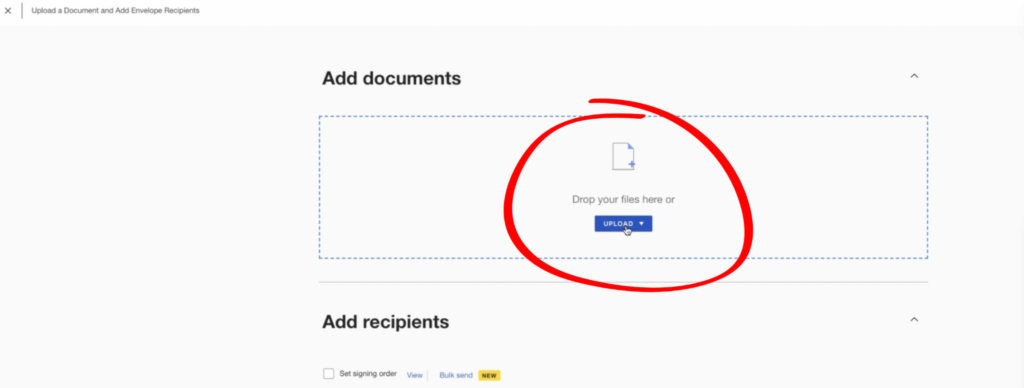
Ensure that all the necessary documents are uploaded before moving to the next step. You can add multiple documents to a single envelope, making it easier to manage related documents together.
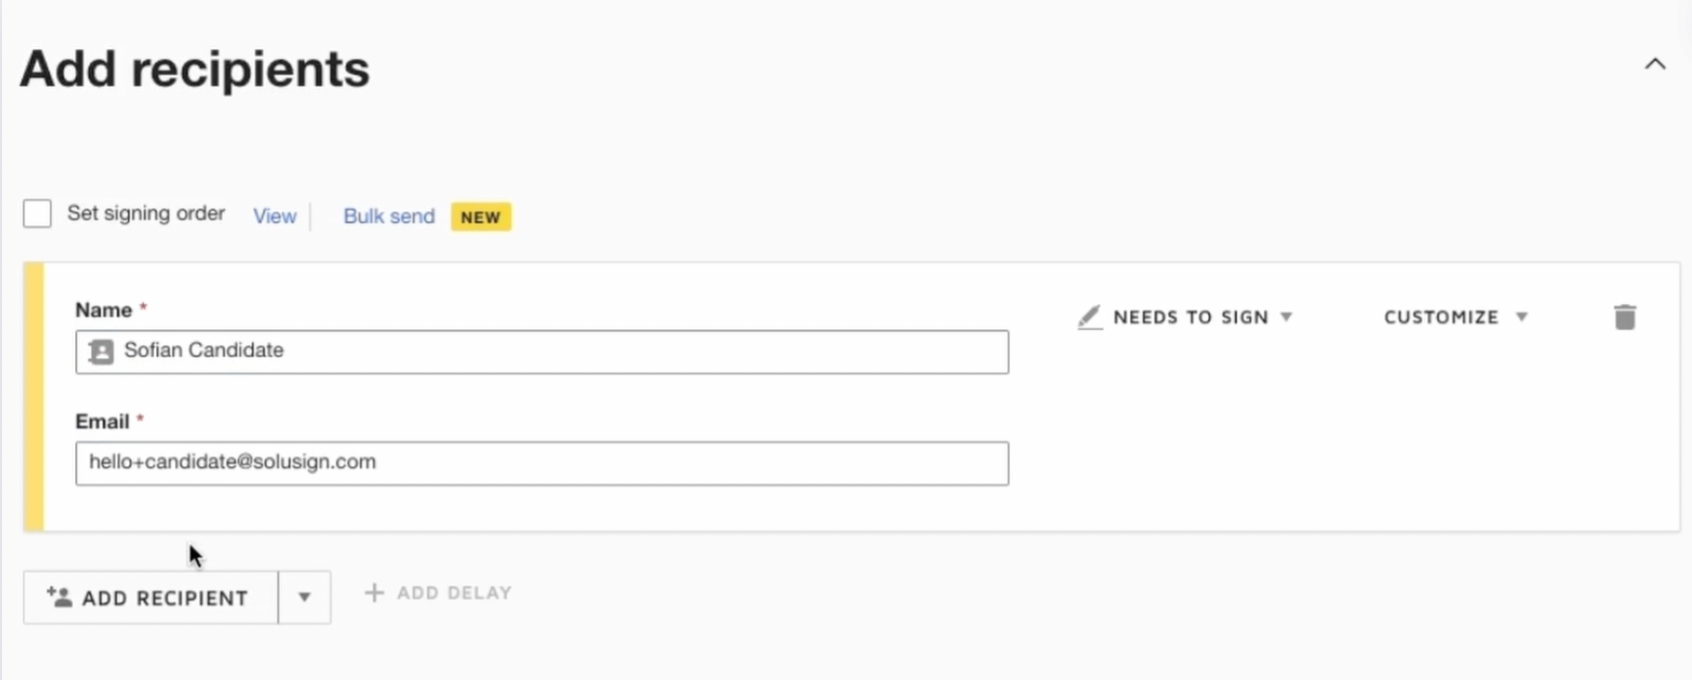
Add Recipients
Next, scroll down and add the recipients who need to sign the documents:
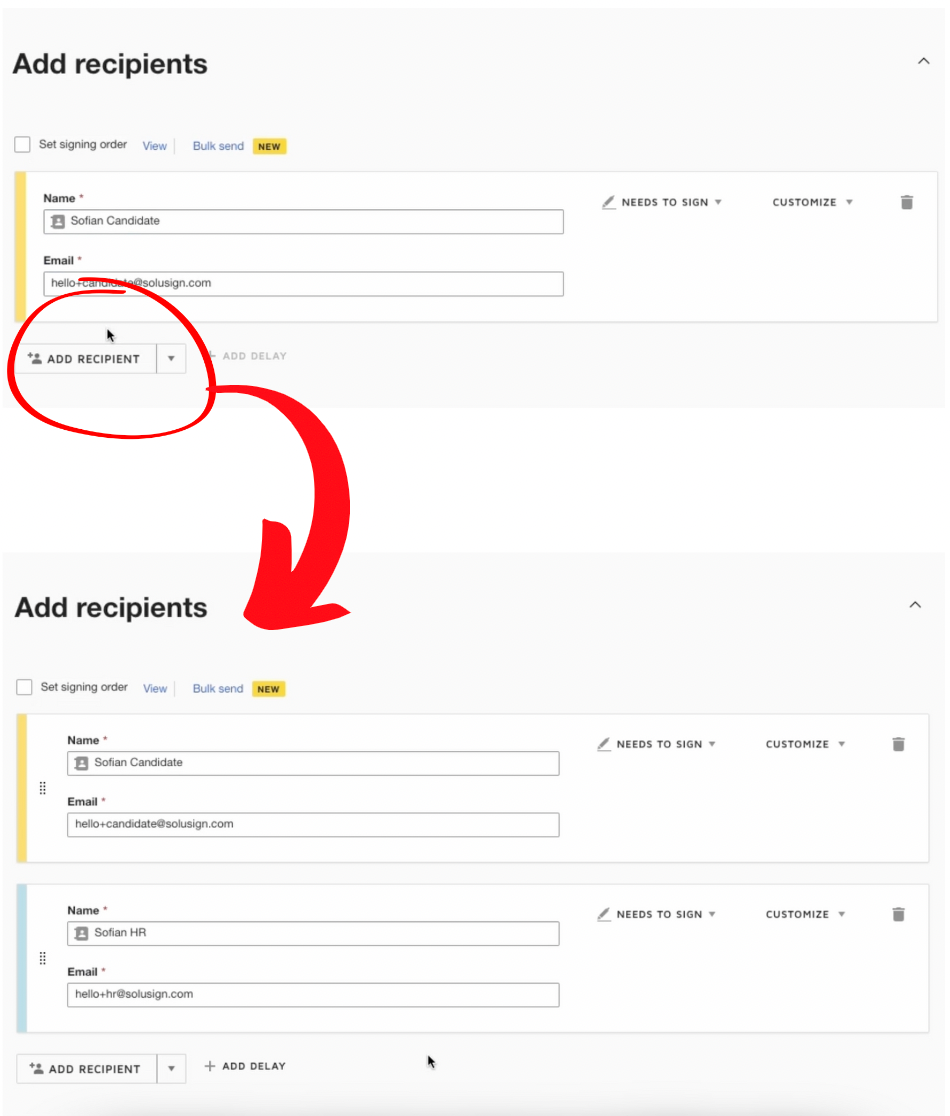
1. Add the first recipient (e.g., the candidate). Enter the recipient’s name and email address.
2. Add the second recipient (e.g., HR). Similarly, enter the recipient’s name and email address.
3. Set the signing order to ensure the documents are signed in the correct sequence. For example, if the candidate needs to sign first, set them as the first recipient and HR as the second recipient.
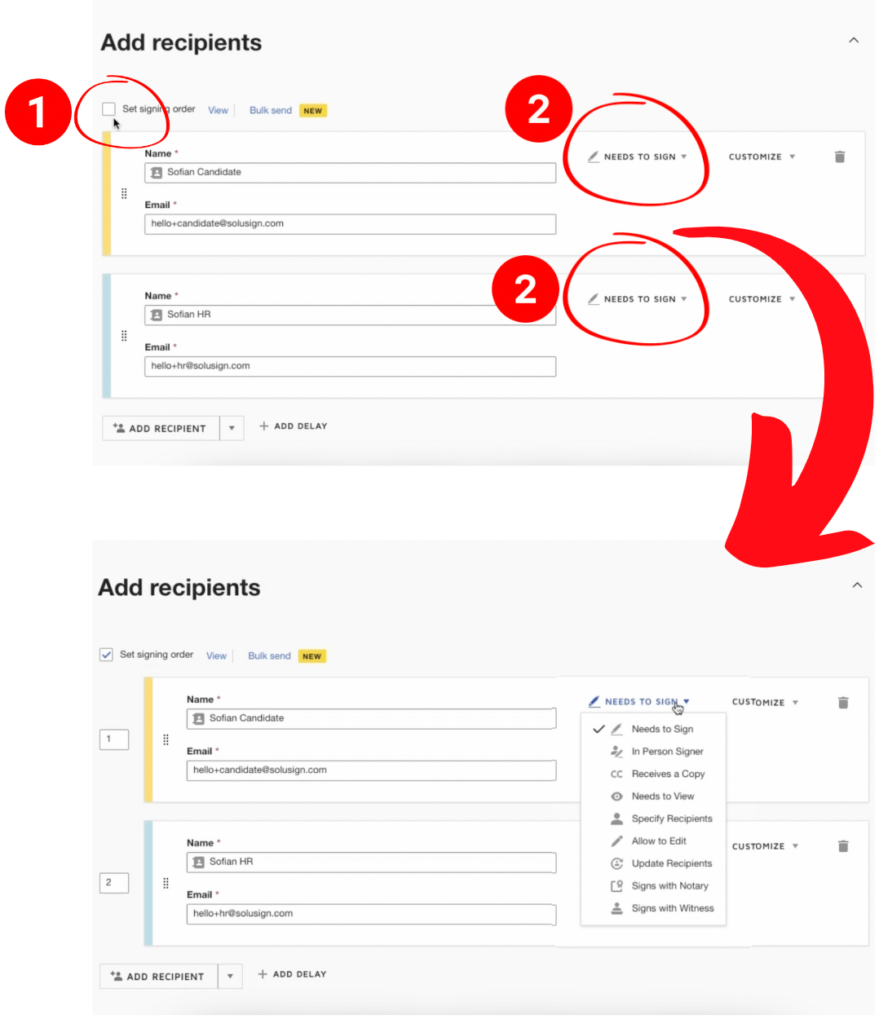
Setting the signing order is crucial to ensure that the documents flow in the correct sequence and reach the right person at the right time.
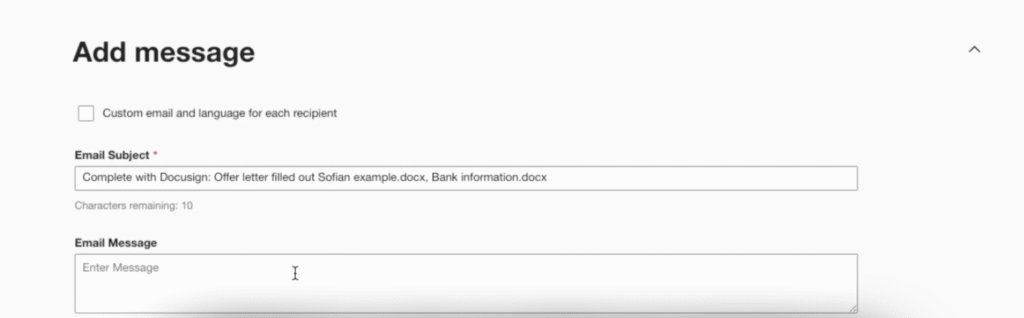
Customize Email and Advanced Options
Scroll down and customize the email subject and message that recipients will receive.
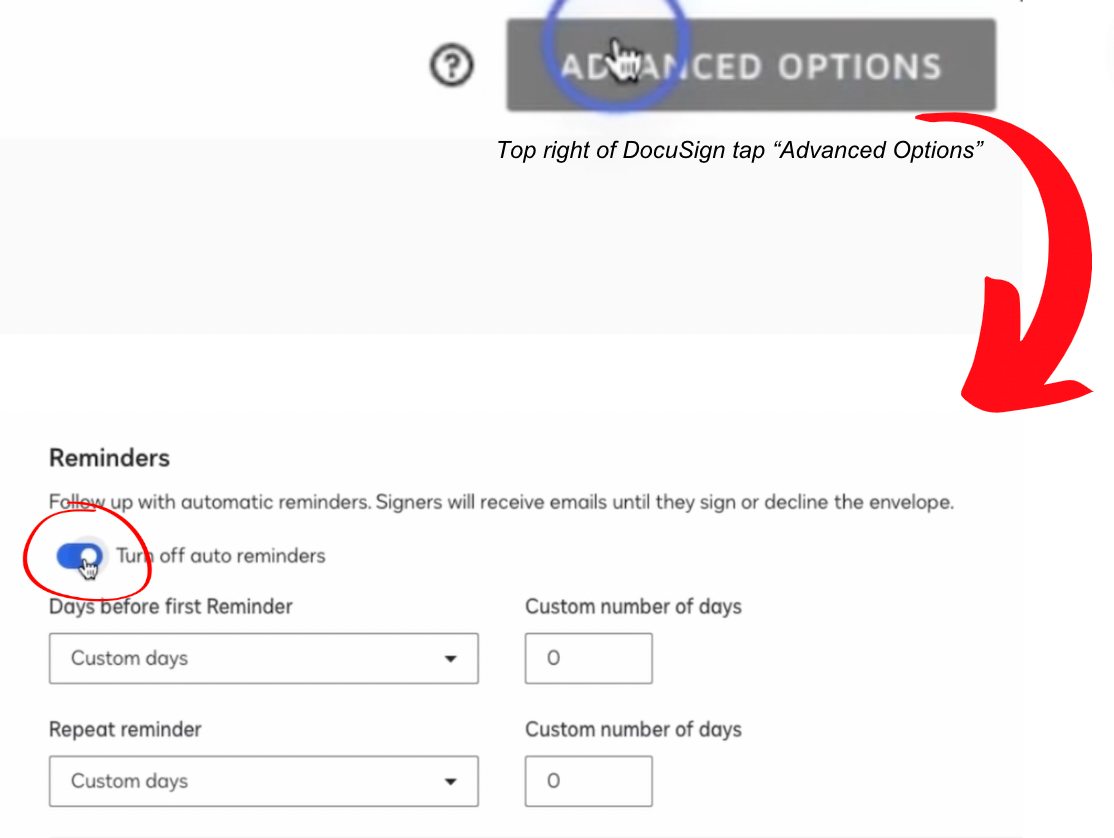
You can also configure reminders and expiration dates for the envelope. Tap the “Advanced Options” button on the top right and you can:
1. Turn on reminders and set the interval between reminders. For instance, you can set reminders to be sent every 2 days.
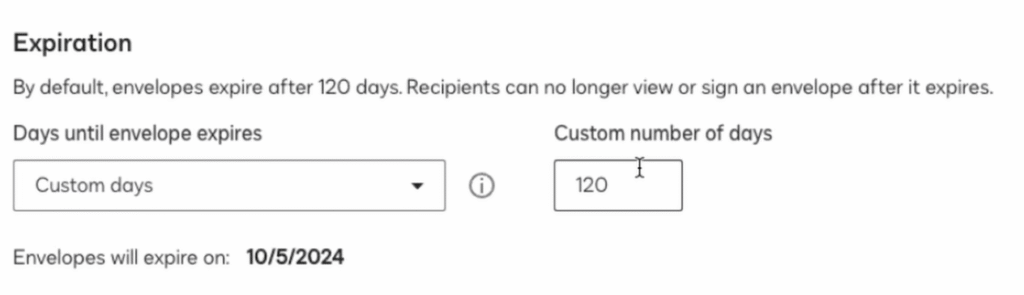
2. Set an expiration date for the envelope. By default, envelopes expire after 120 days, but you can customize this based on your requirements.
Make sure to tap the “Save” button after finishing. Customizing these options helps in ensuring that recipients are reminded to sign the documents and that the documents are signed within the desired timeframe.
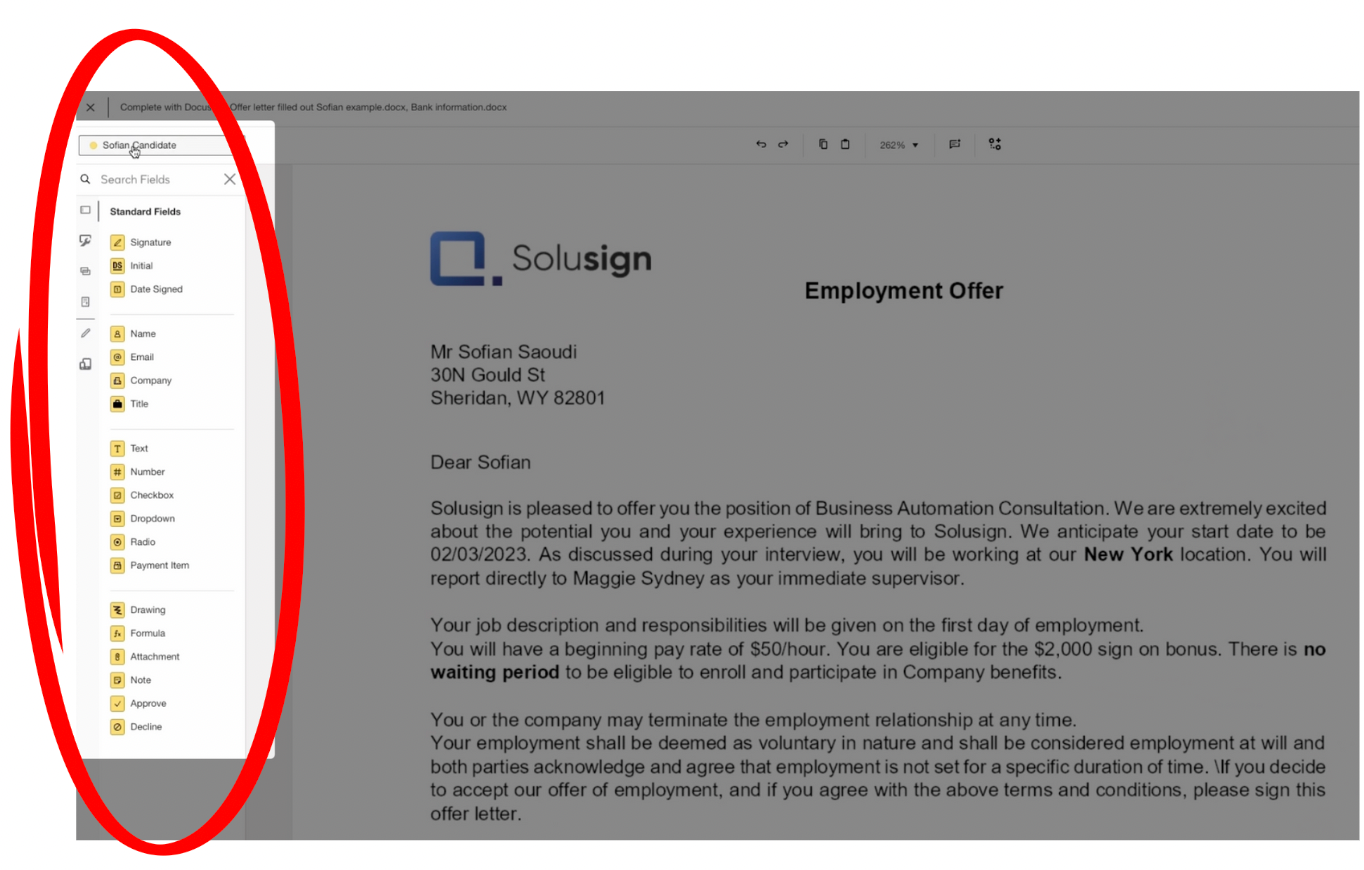
Step 2: Add Docusign Fields
Docusign fields guide your recipients on where to sign and provide information. Here’s how to add fields:
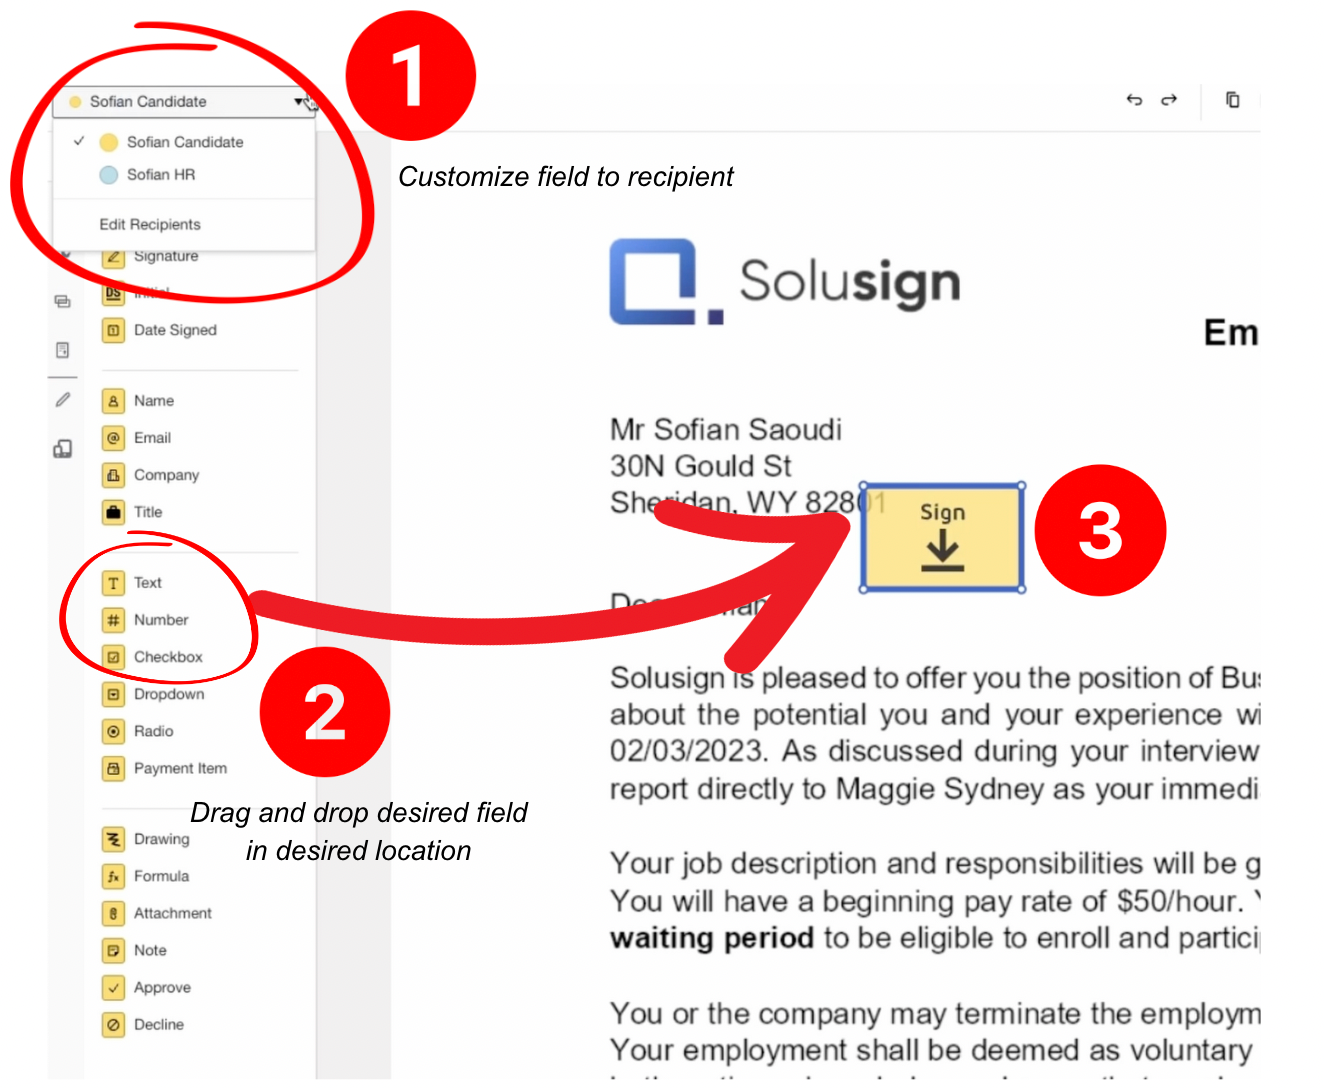
1. Drag and drop signature fields, full name fields, and date fields onto the document. These fields will indicate where the recipients need to take action.
2. Customize each field according to the recipient (e.g., candidate or HR). Assign the fields to the respective recipients.
Use the duplicate function to save time when adding multiple fields. This function allows you to quickly replicate fields without manually adding each one. This is useful for duplicating fields for a different signer. Follow these steps to duplicate fields in Docusign:
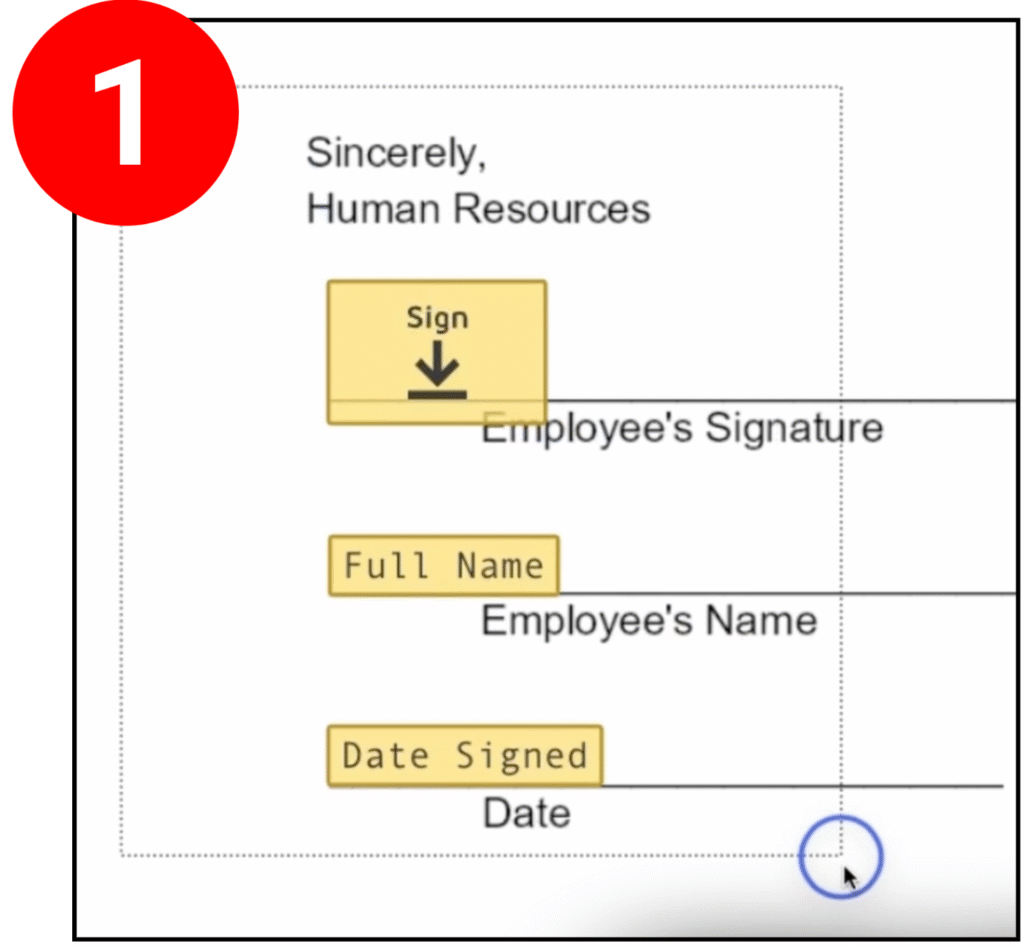
Step 1: Click and drag the mouse to highlight fields to duplicate.
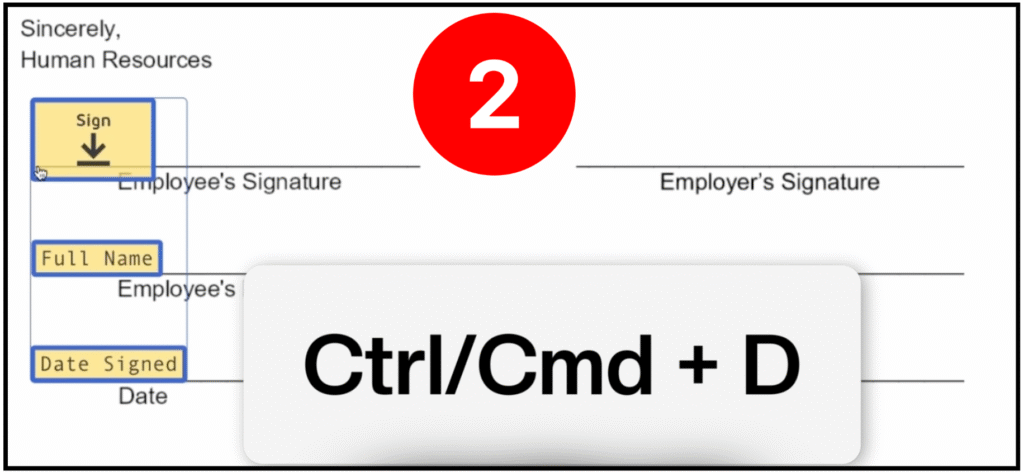
Step 2: Press Ctrl + D (Windows) or Cmd + D (Mac) to duplicate highlighted field.
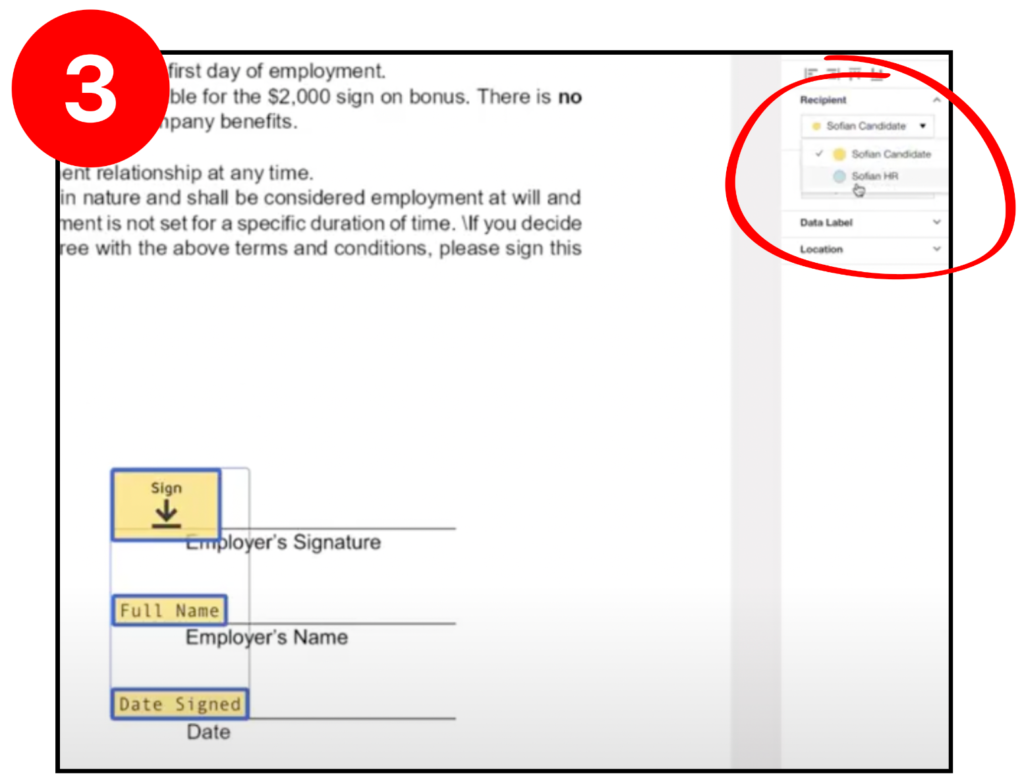
Step 3: After dragging the duplicated field to the desired location, click the dropdown beneath “recipient” and select the desired recipient.
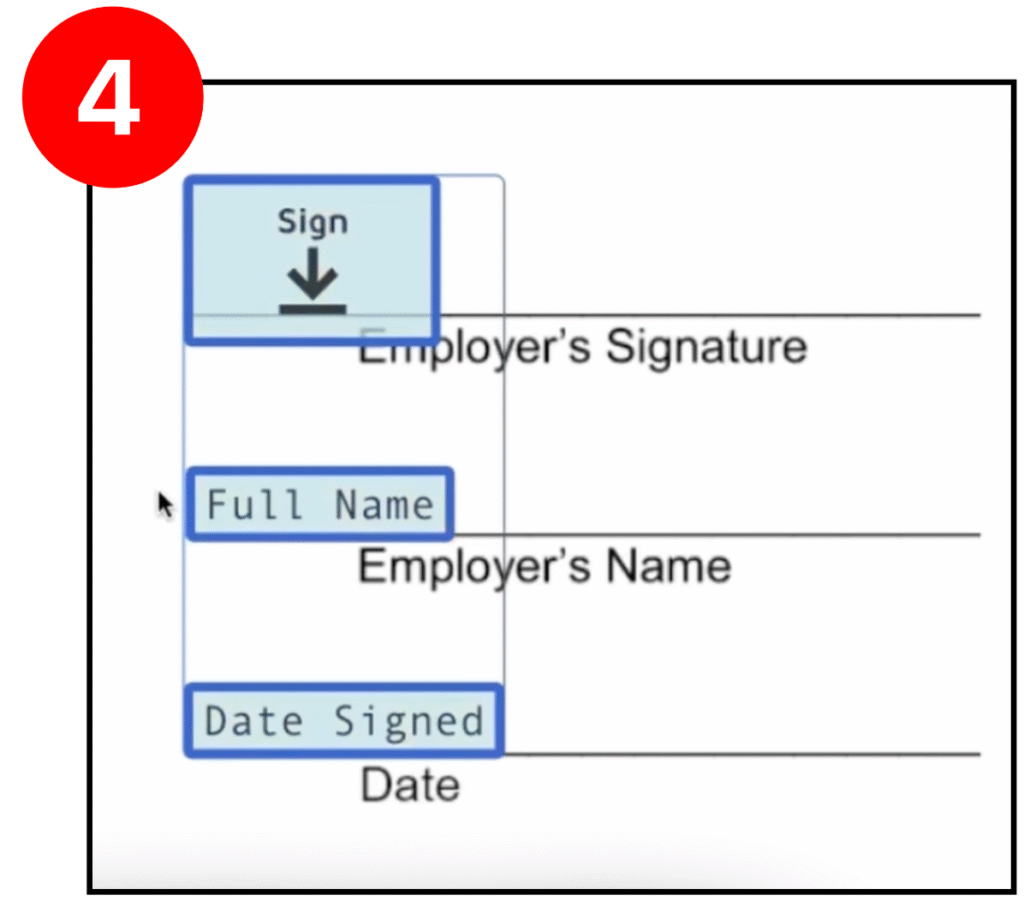
You are finished.
Use Advanced Field Options to Validate Your Data
You can also add validation to ensure correct information entry to:
Validate Zip Codes
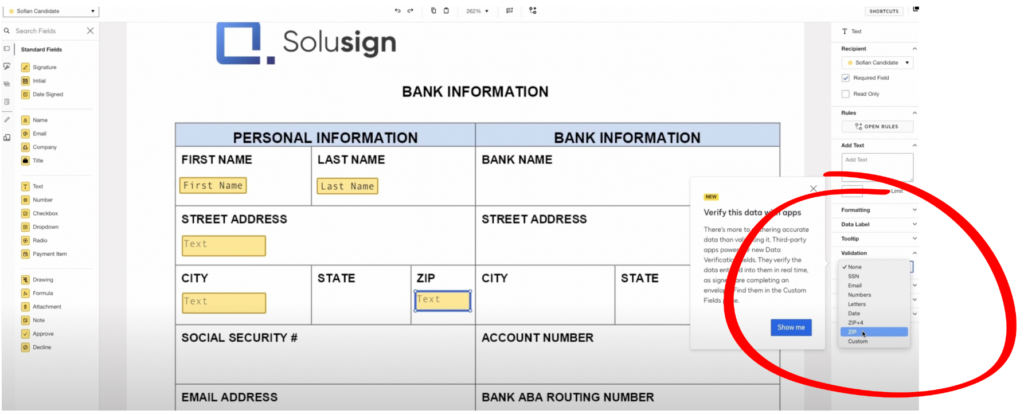
Add a text field for ZIP codes and apply ZIP code validation. As shown in the image below, click on the ‘Validation’ dropdown and select ‘ZIP’ after dragging in and highlighting a text field. This ensures that the entered ZIP code follows the correct format.
Additionally, the image below shows other validation options, including Social Security Number, Email, and Date, among many others.
Validate U.S. States (or Any Predefined List)
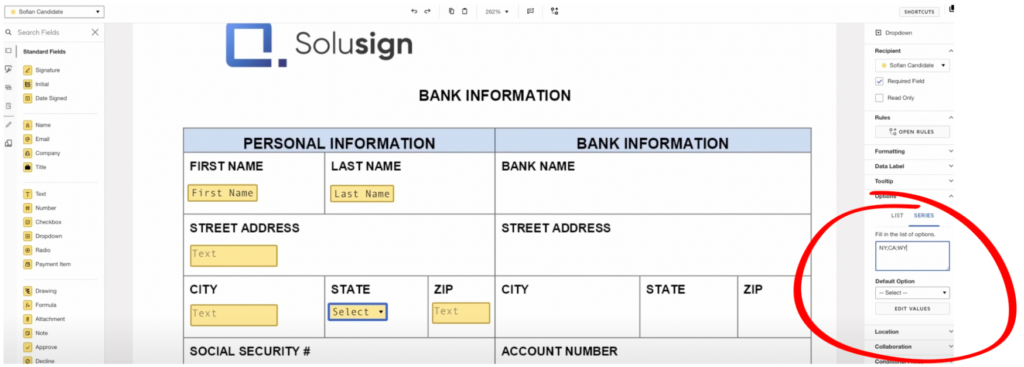
Use a dropdown field for states to maintain consistent data. Dropdown fields provide a list of predefined options, ensuring that recipients select the correct state. To do this, drag and highlight a dropdown field from the left side toolbar. As shown in the image below, under the ‘Options’ section on the right side, select ‘Series’ and input the states as follows: ‘NY;CA;WY’ for New York, California, and Wyoming as an example. Adding these advanced options helps in maintaining data accuracy and consistency, reducing the chances of errors.
For a full list of U.S. States, you can download them at Docusign Mastery Cheatsheet.
Step 3: Send the Envelope
After setting up your fields, you’re ready to send the envelope:
- Click “Send” and your recipients will receive an email notification to sign the documents. The email will contain a link to the Docusign platform where they can review and sign the documents.
It’s essential to ensure that all fields are correctly configured and that the email notifications are correctly set up before sending the envelope.
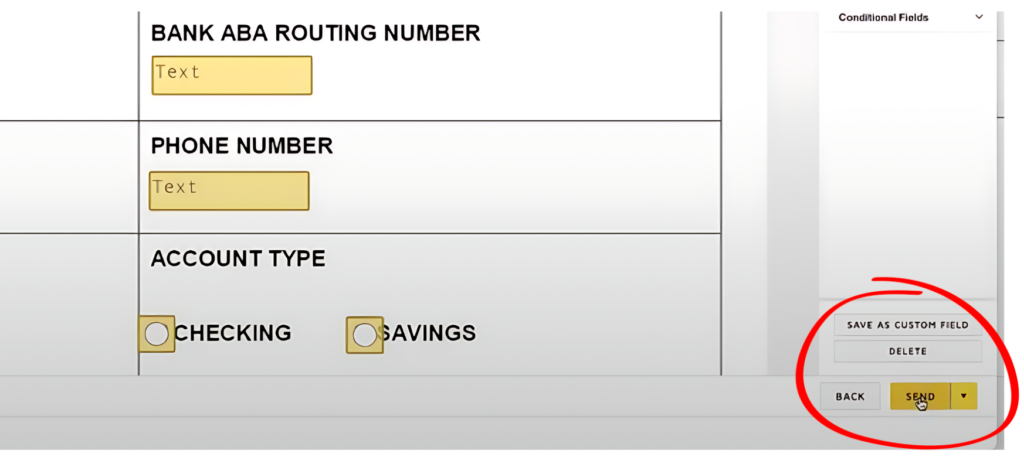
Click “Send” and your document is sent.
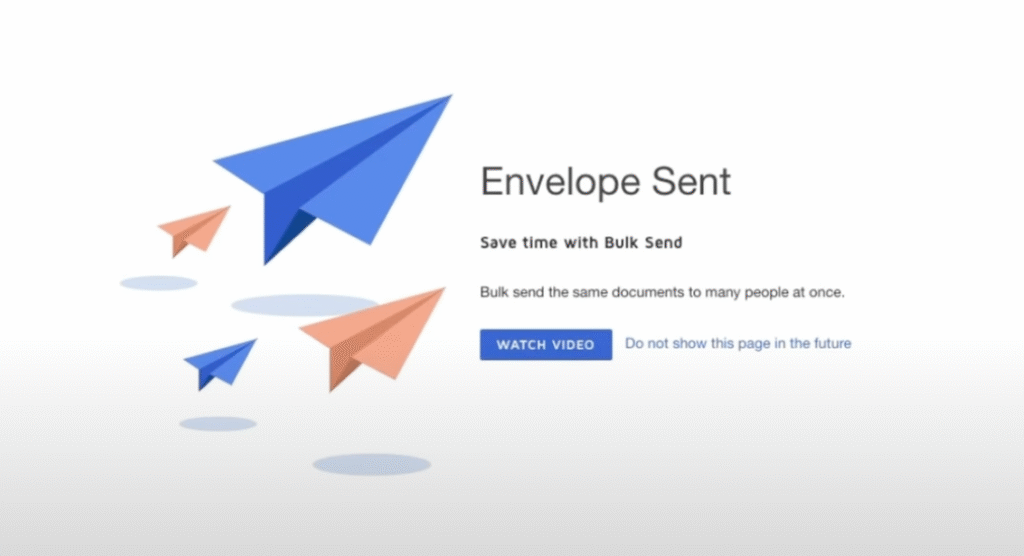
Confirmation that your envelope has been sent.
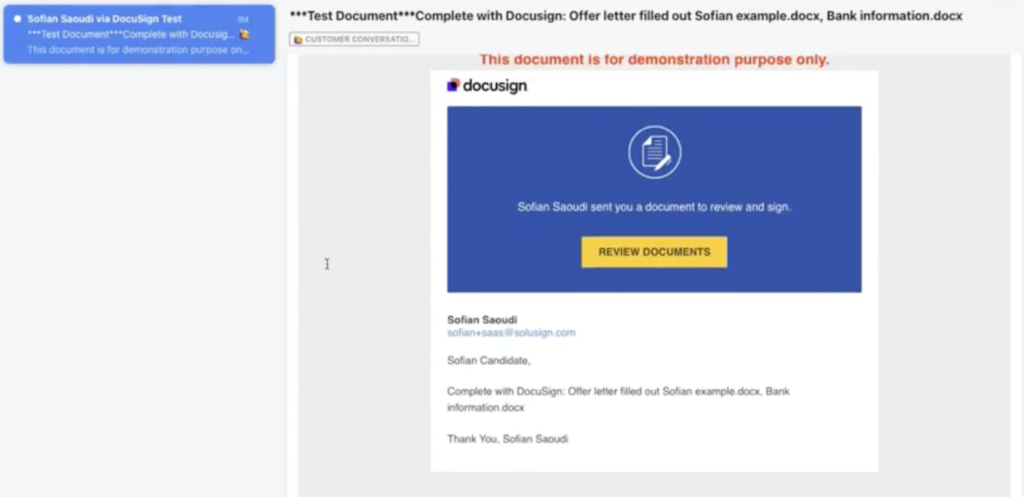
After you send the envelope, you’ll receive a confirmation that your document is sent. Check your email for a notification, then click ‘Review Documents’ to proceed.
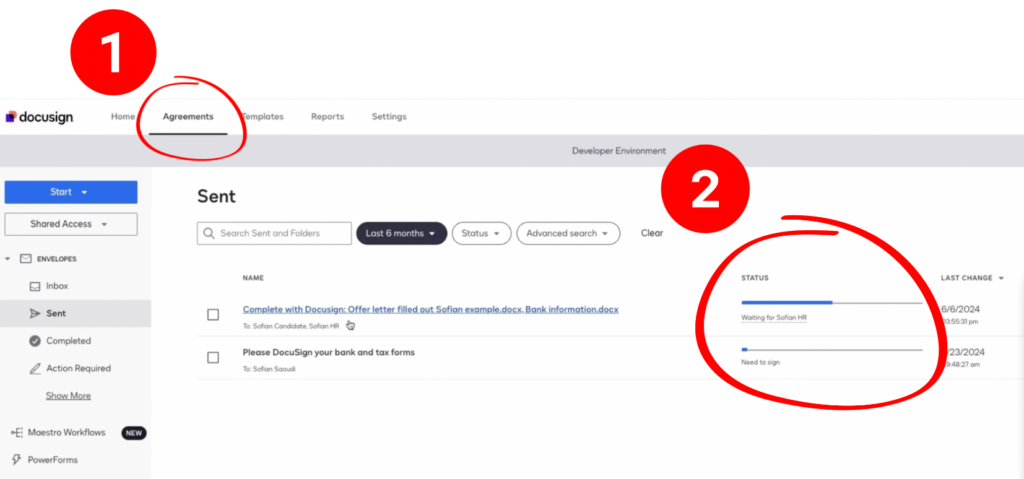
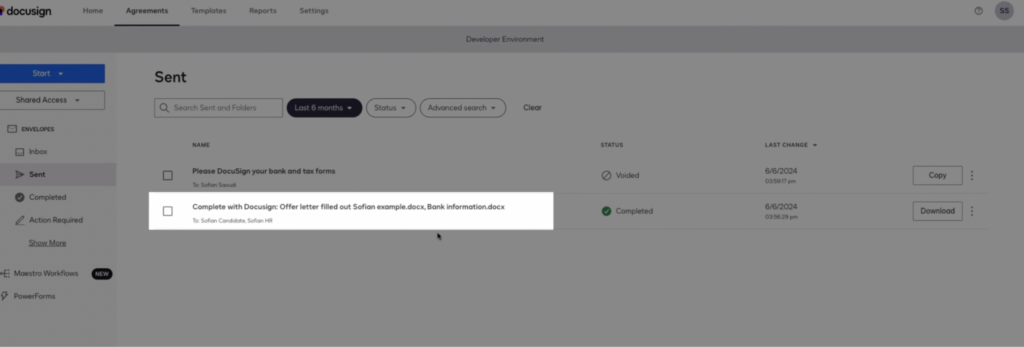
Step 4: Track and Manage Envelopes
Tracking your envelopes ensures that all recipients complete their required actions:
- Go to the “Agreements” tab to view the status of sent envelopes. This tab provides an overview of all the envelopes you have sent and their current status.
- You can see if a recipient has signed and if the document is complete. The status will indicate whether the envelope is still pending, in progress, or completed.
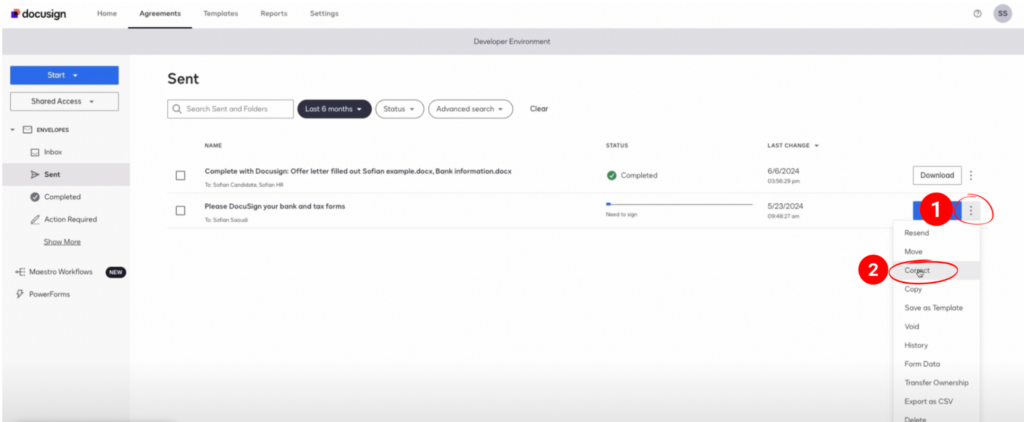
Correct Envelope Mistakes
If you made a mistake, you can correct the envelope without sending a new one:
- Go to the envelope and click “Correct.” This option allows you to make changes to the envelope without having to resend it entirely.
- Update the recipient’s email or name as needed. You can also update the documents or fields if necessary.
Correcting envelopes helps ensure that the process continues smoothly without any disruptions due to minor errors.
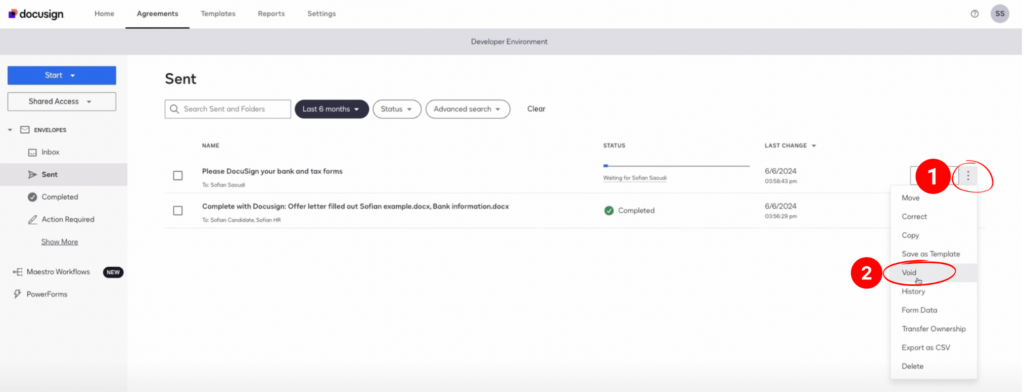
Resend and Void Envelopes
You can resend the envelope notification or void an envelope if necessary:
1. Click “Resend” to trigger the email notification again. This is useful if the recipient has not received or has deleted the initial email.
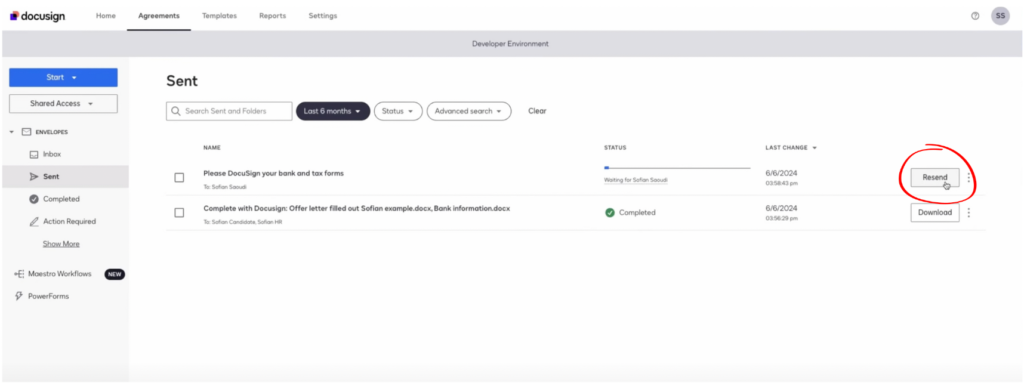
2. Click “Void” to cancel the transaction. Voiding an envelope ensures that the document is no longer valid and that recipients cannot take action on it.
These options provide flexibility in managing the envelope and ensuring that the process is completed correctly.
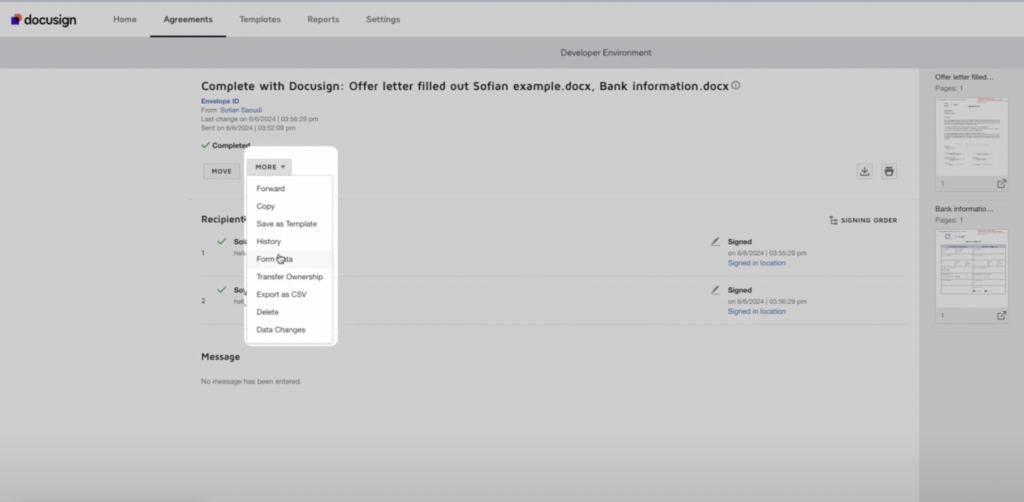
Step 5: Extract Form Data
Docusign allows you to extract form data from completed envelopes:
1. Go to “More” and select “Form Data.” This option provides a detailed view of all the data entered by the recipients.
2. Export the data in CSV format for easy integration with other systems. CSV format allows you to import the data into various applications and systems.
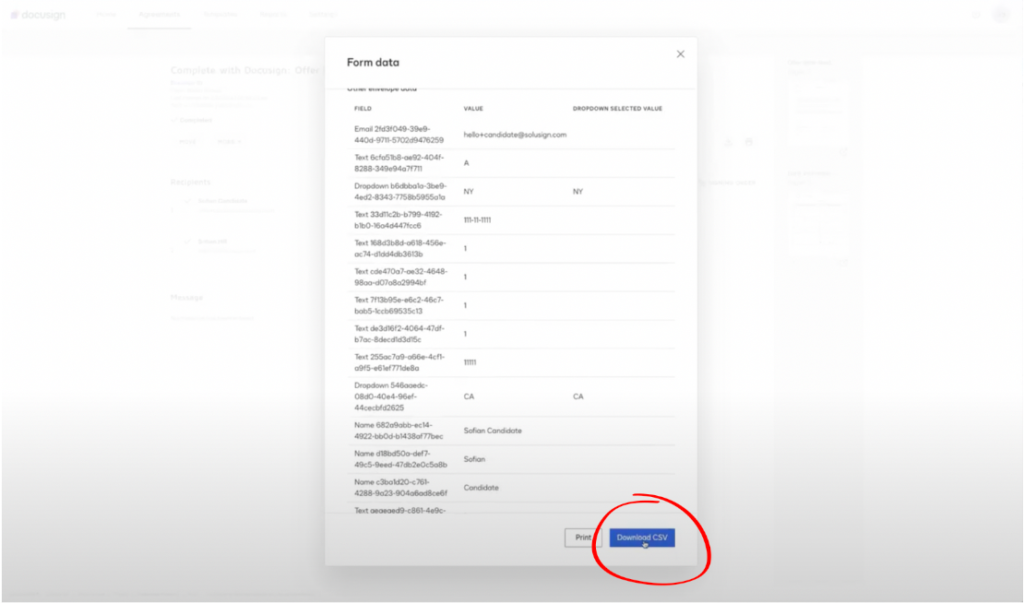
Extracting form data helps in efficiently managing the information collected through Docusign and integrating it with your existing systems.
Automate the Process with Templates
Sending envelopes is quite time-consuming if you do it manually each time without a template. Using templates can save you time by predefining workflows, including recipients, fields, documents, and the other little things you set up completely manually.
You can use a template for similar documents in the future. Templates help in ensuring consistency and reducing the time required to set up new envelopes.
If you want our help to configure your Docusign templates, your Docusign account, and your Docusign workflows, you can book a free strategy session.
Conclusion
Using Docusign for your document management can significantly streamline your processes. From creating and sending envelopes to tracking and extracting data, this guide has covered all the essential steps. By following these steps, you can efficiently manage your documents and ensure that they are signed promptly.
For further assistance or to set up Docusign for your organization, book a complimentary implementation strategy session with a Docusign automation expert. Book a call now.